Monday, March 21, 2011

Spring Break 2011! part two

Spring break continues with tons of fun, laughing and playing!
On Tuesday, the weather was cold and yucky so we still needed to do something indoors. We went over to Mimmie's house for lunch!


Its so fun to go to Mimmie's because you can do aaannnyyything you want there!! Like play in the sink or take a bath in the middle of the day with lots of spraying bubbles!
We were very glad that she was on spring break with us!


This is Allie Ruth's new scary face that Landon taught her how to do!


I think its more funny than scary, especially when she tries to growl!

On Wednesday, the weather was so much better. It was sunny and warmed up quick!
We started the day playing in the front yard.

Landon is really loving his new golf clubs!


They are so sweet to each other (most of the time)!


We went over to the park to...


play on the playground,


pick flowers and 


explore. I asked Landon who he thought made this and he said "I don't know, but I like it!"

Allie Ruth's contribution to the pretend campfire...


It was such a fun morning!


Later that afternoon, Landon and Kelly went back up to the river. 
Allie Ruth and I had a girls play date at the Riverdale playground. I have heard it is a fun playground so I was excited to check it out! We met Dixie, Madison and Molly.


Sweet sisters!


What? No, I have not been eating any cookies!


Great day!


Thursday, March 17, 2011

How to make a onesie into a dress!

Supplies needed:

onesie 
1/2 yard of fabric
thread
sewing needle


I had this onesie monogrammed for Allie Ruth when she was a baby and its still in good condition so I wasn't ready to let it go yet. The fabric is some that I got from Memaw. 


Cut the fabric at the lowest, even point of the onesie. You want to keep it as long as you can, depending on how small it is. Save the bottom scrap! 


Iron and hem your 1/2 yard of matching fabric.


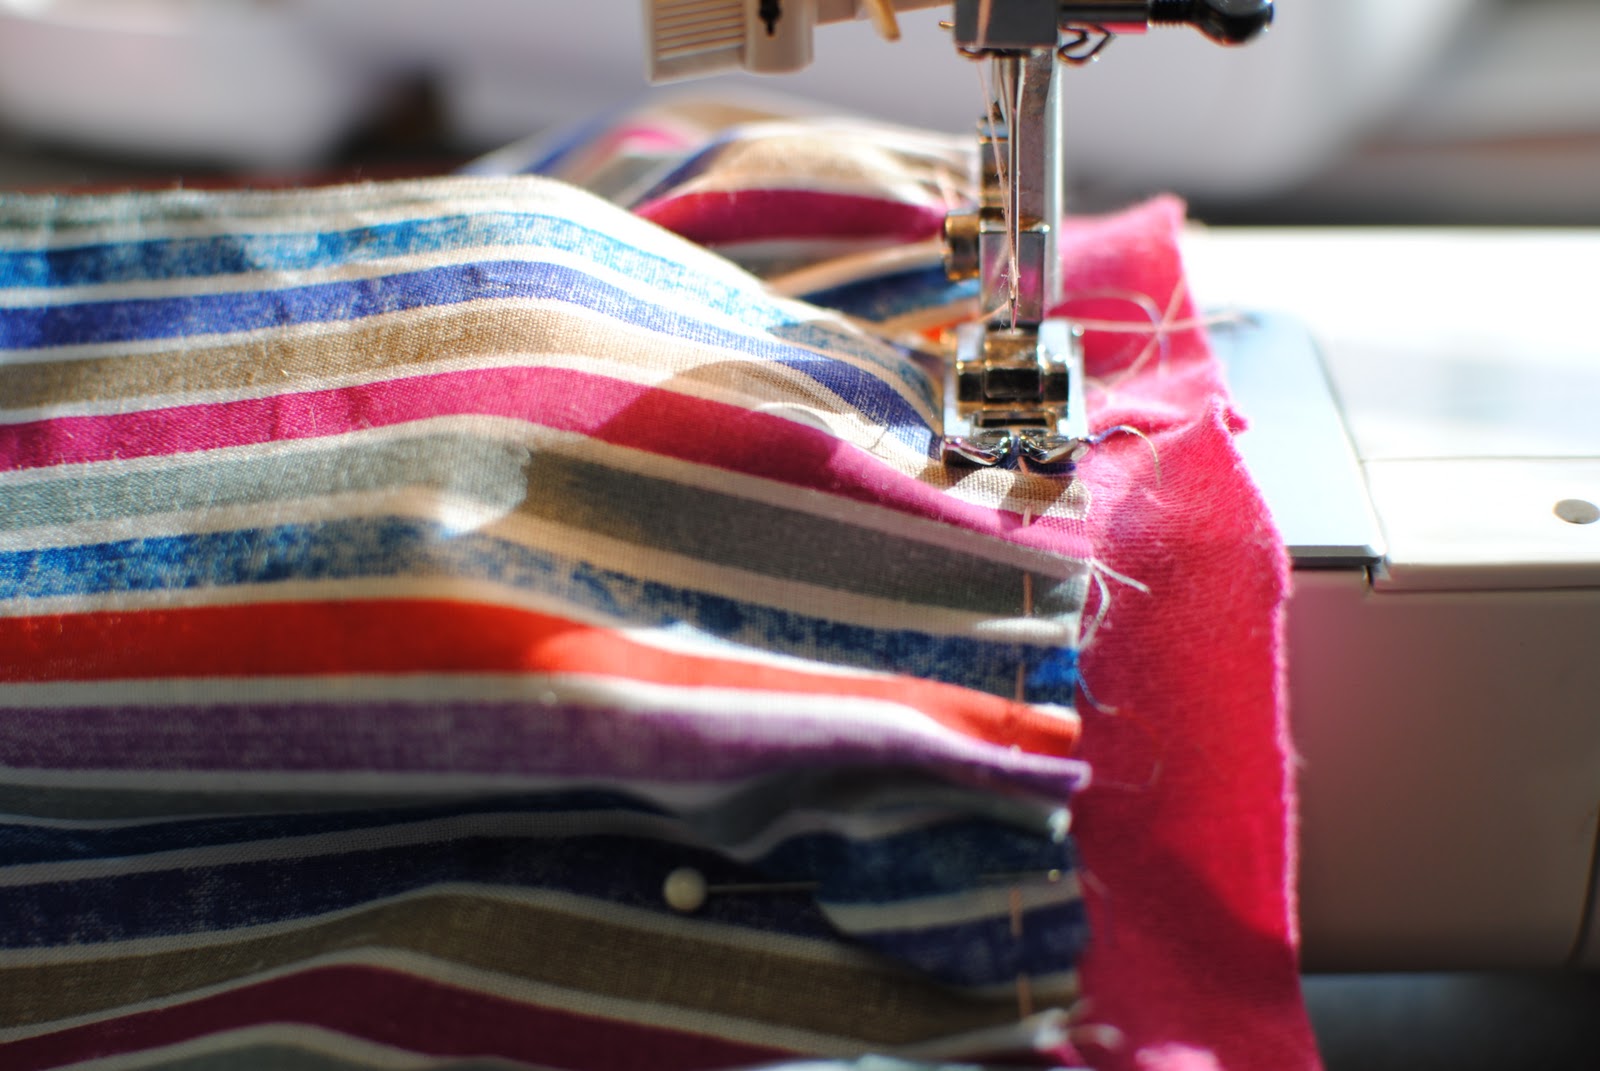
Use a sewing needle and thread to gather you waist of the dress. Pin the sides together and sew to create your skirt piece. 


Say hi to the little kitty cat!


Pin and sew the skirt to the top.


Say hi to my new assistant! 


I used some of the scrap fabric to make the sleeves a little longer.


Hey little missy, Just because your dress is cute, doesn't mean you can pick the flowers!!


Monday, March 14, 2011

Spring Break 2011!

Ahhhhhh, spring break! I love spring break! Actually, I love any day that you do not have to set an alarm to get up and you get to spend it doing whatever you want with your babies!

The weekend started off with Kelly and Landon going to the river to have a guys weekend. Which meant, Allie Ruth and Mimmie, and Mom had a girls weekend! Shopping on Saturday and rearranging and cleaning house on Sunday! We surprised the boys with a new, clean family room!

On Monday is was rainy, yuck! Landon had mentioned the Children's Museum a few hundred times and asked again if we could go! When I said "yes" he gave me a big hug and said "you are the best mommy ever!" Yes, I know, son! Until I mentioned the haircut!


Landon has needed a haircut for quite a while. So this was the perfect time to squeeze it in! We go to the sweetest barber shop, Bartlett Barber Shop, very old time and super sweet to my kids!

Off to the CMOM! Since its right by Uncle Bub's house and he is home, we got him out of bed on this rainy day to join us:)


We took a little lunch break at Cafe Ole and we (meaning mom) saw were the new urban outfitters is going to be, so excited!


Back to the museum...


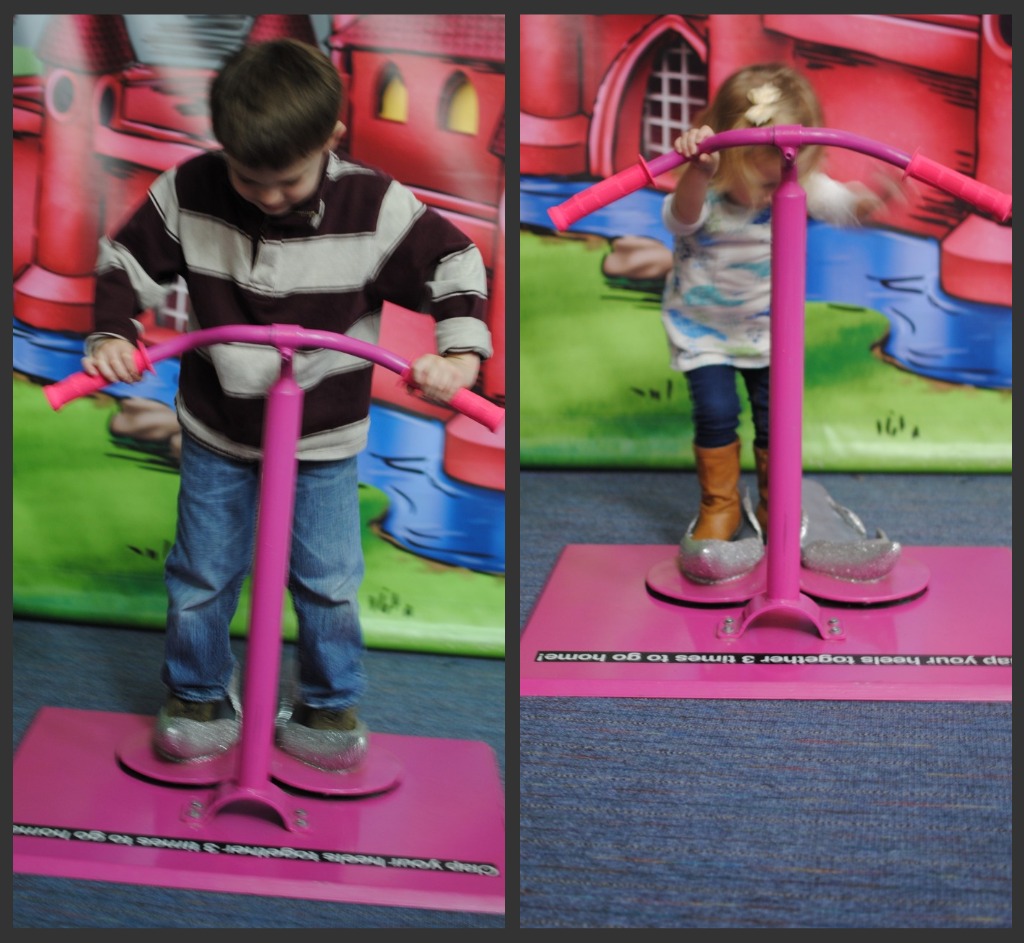
 A "Wizard of Oz" theme this time...


Lots of fun! What to do tomorrow...? 


Thursday, March 10, 2011

Tuesday, March 8, 2011

Weekend fun!

This weekend the weather was terrible! But we still had a lot of fun:)


On Saturday morning, we went to a birthday party. It was a pajama and pancake party! It was really cute and such a great idea! All the kids were their p.j.s and breakfast food was served. I really think I will be copying this idea for Allie Ruth's next birthday! On a photog note, this picture is in black and white because I forgot to change my settings back when I was practicing my white balance! This is one of the few pictures were both kids are actually looking at the camera and somewhat smiling! So it was either look like a smurf or do some b/w adjustments.

After the birthday party, Kelly took Landon and our niece, Sydney, to see Rango. Landon said the movie was really good, but of course, turn off the lights and have Landon sitting still and he is gonna fall sleep! While Allie Ruth played at Gammie's house, I met one of my best friends from high school for Mexican food (and ritas)!

On Sunday morning, Kelly surprised us with donuts! Yum:) We met Mimmie for lunch at Huey's and then the girls went shopping! Allie Ruth was a good shopping girl! Landon and Kelly went to putt putt to hit golf balls. Kelly bought Landon the cutest set of golf clubs for kids. We had a great weekend despite the yucky weather! We are counting down the days until spring break!


Friday, March 4, 2011

Fauxtography Friday!

Lesson 3: The color of Light


White Balance is setting the color temperature of your image. 


Tutorial: Custom White Balance: Custom white balance is the best way to fix color casts in an image. It makes the camera adapt to the exact lighting situation that you are shooting. 


I used ARs shoes for my example. This picture is using the white balance in the auto mode. 


This example is done with the Tungsten setting, which is used for indoor lighting.

This example done using the custom white balance. I took a picture of a solid white sheet of paper and then set my white balance according to the picture of the white sheet of paper. At first glance, it does not seem like much of a difference in each picture, but there is slightly. I can see how setting the white balance will really help a lot of my pictures that tend to have an orange tint to them. I bet people wondered if my kids were jaundice!


This example was done under flourescent lighting.


And using custom white balance under flourescent lighting.

Whew, so many things to remember and think about just to take a picture!


Happy Friday and almost spring!


Tuesday, March 1, 2011

How to make a baby bib tutorial


Supplies needed:
bib pattern
fabric
terry cloth (optional)
clear iron on vinyl (optional)
sewing supplies
velcro, buttons

Before we get started, let me apologize for the quality of the pictures. I have been practicing using my camera in manual mode. Guess I should save it for my tutorials when I get a little lot better. But you will get the idea! 

First, you will need a pattern for your bib. These are very easy to make. Bibs are symmetrical, meaning they are the same on both sides. Fold a piece of paper in half and draw half of your bib and half of the hole for the neck. Keep the paper folded and cut along the drawn lines. When you open it up, you will have the perfect bib pattern. Now, if you don't know or think you can draw half of a bib, then you could trace one that you already own. Chances are, if you are reading this, you have a bib laying around the house.


Next, let me introduce you to my new favorite addiction supply. 


This is clear iron on vinyl that you can purchase from a fabric store. I got mine at Hobby Lobby for 25% off $7.99. Did you know that if you forget to print out the weekly coupon, you can just pull it up on your phone and show the cashier?! So what this does is laminates the fabric or puts a clear coating over it and makes it shiny, like oil cloth. Perfect for a bib. Just follow the directions on the package. Its very easy!

Once you have your fabric ready, place the bib pattern on top and pin in place.


Cut out the fabric around the pattern. Take out the pins. If you would like to add a coordinating piece of fabric to your bib, then now would be the time to do that. Just cut a strip of fabric (that you would have already had laminated) and sew it on to the bib.

Place the right side of the fabric to the right side of the terry cloth and pin in place. I like to use terry cloth for bibs because it can be used to easily wipe up messes after the meal is finished. 


Only trim off the majority of the extra terry cloth, not totally cutting out around the bib. This is because the laminated fabric tends to slip while sewing and the terry cloth will stretch so you can easily pull out any wrinkles. Also, leave an opening about 3.5 inches so you can pull the right sides of the bib through. I like to leave my opening at the bottom edge. Now its time to start sewing around the bib. Go slow, especially around the neckline. Trim off extra terry cloth and unpin your fabric. Now turn the bib right side out using the hole you left open. The laminated fabric will be a little wrinkled. All you have to do is use the protective paper that came with the vinyl and iron it out some. After you have the bib all ironed out and smooth, sew back around the edge of the bib, closing up your opening and giving it a more finished look. 


For the closure of the bib you can use snaps, velcro, etc. I sewed a piece of velcro and then added a button to hide my stitches. 


And you are done! These make great baby gifts!


I think they go great with this little outfit and can't wait to meet the wee one that is going to wear it!